One of my favorite underwater subjects are jellyfish. Many like the ovate comb jelly, the Leidy’s comb jelly, the four and eight ribbed hydromedusa, pteropods, and juvenile jellies have white and opaque bodies which are often shown against a black background. The black background appears not because the New Jersey water column is actually black and people wonder how I can see anything underwater but because I am using a very small lens opening which doesn’t let in a lot of available light – making the background black.
Since I am batch scanning my slides, I didn’t notice soon enough that many of these jellies had blown out highlights which I was trying to fix in Photoshop. Unfortunately, once highlights have no data in them, there aren’t any real good ways to fix the images. I found a way to adjust my scanner to deal with these highlights. It’s makes my post processing a little more involved but it allows me to have useful images where, without the change, I would have discarded them.
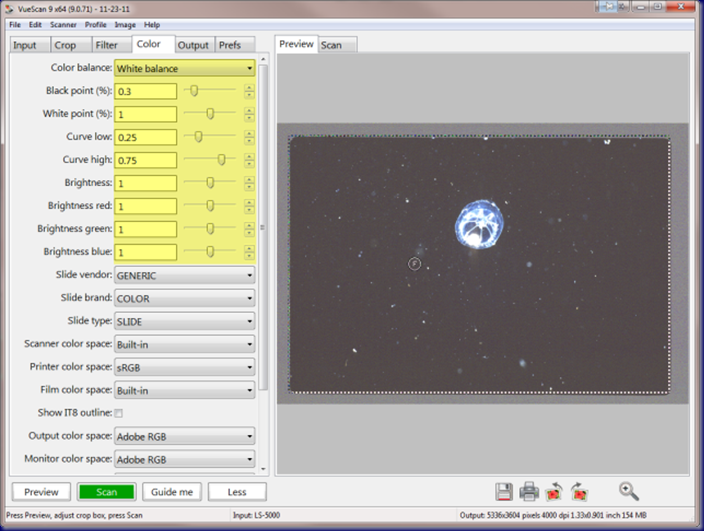
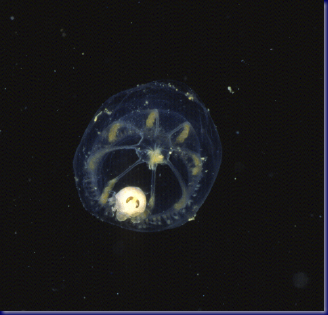
The image above is my normal settings for VueScan. They work pretty well for most things but not so well for this eight-ribbed hydromedusa. This is a small jellyfish – not more than one-quarter inch in diameter. Scanning at these setting produced the following image:
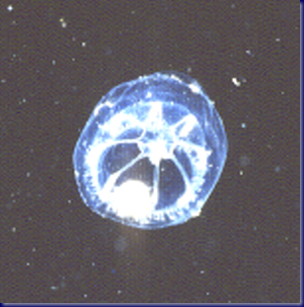
I cropped a small section of the image so that I could show how bad the scan is.
The whites are completely blown out and the image could not be saved.
I tried adjusting the image using “Levels” but using the black point eye dropper for the darkest part of the image still left the whites unusable.
There was also an additional marine invertebrate in the image that I could not identify with this scan.
This is the only image that I have of an eight-ribbed hydromedusa so it was important for me to try and save it.
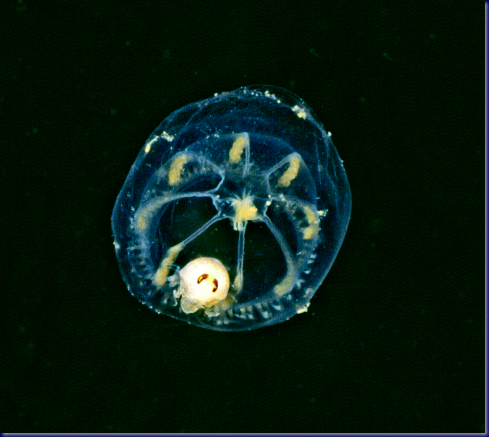
I tried different settings in VueScan and come up with one that I really liked:
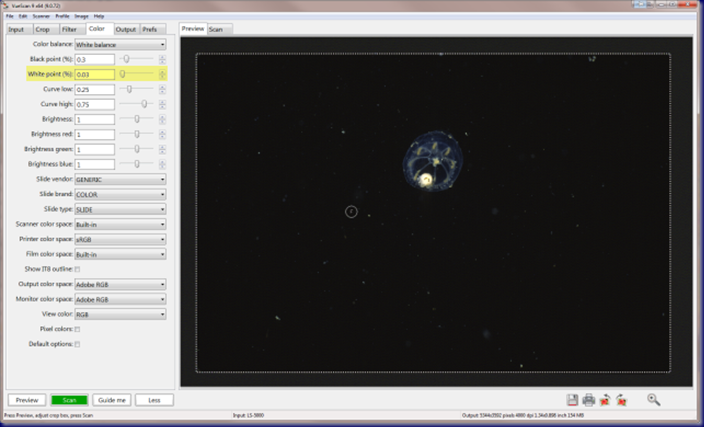
It was the same setting that I used for normal scanning with the exception of changing my “white point” from a setting of “1” to a setting of “0.03.” That produced an image that looks like this:
The eight ribs of the hydromedusa are not blown out and now you can see the hitchhiker which I believe to be a juvenile long-finned squid.
After the initial scan, I was not able to use my standard batch processing of images in Adobe Photoshop CS5 as it also tended to blow out some of the highlights but not nearly as bad as my original scan.
I processed the image manually in Adobe Photoshop CS5 and used “Shadows and Highlights” to make my adjustments.
The final image is:
I think that I achieved the result that I was after. I had already scanned my slides of sea gooseberries and purple jellyfish and found that there were many in both directories with blown out highlights so I went ahead a rescanned the images using my new settings. I saved the settings in VueScan and named the settings “blownouthighlights.ini” so that I could use the settings for future scanning.
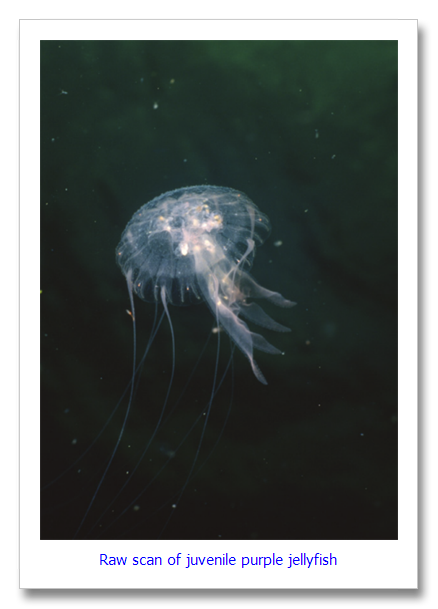
Here is another example of purple jellyfish that I was able to use after scanning using my blown out highlights setting. This is the raw scan:
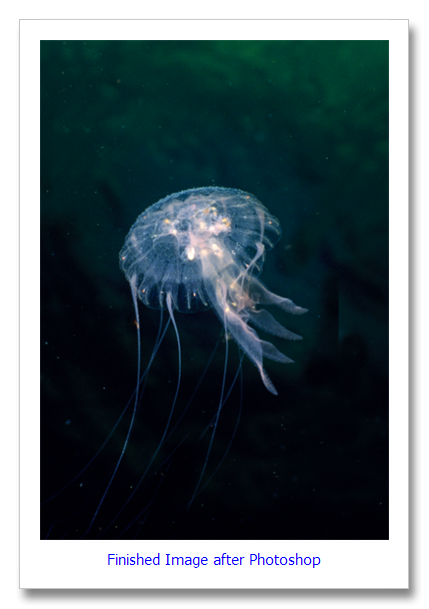
Now the finished image after Photoshop editing:
My original scan of this jellyfish was so blown out that it was unusable. I found that I could scan all the images in this category using the blown out highlights settings and processing them in Photoshop. There was a little extra work but the ease of editing the formerly blown out images was worth the extra effort.
© 2012, Herb Segars. All rights reserved.

wow!
Love all the hitchhikers on the jellies.